
How to Propagate a Tree with Hardwood Cuttings
Why is propagation so cool?
Propagation is a fun way to create new plants to share with your friends, neighbors, or other parts of your garden!
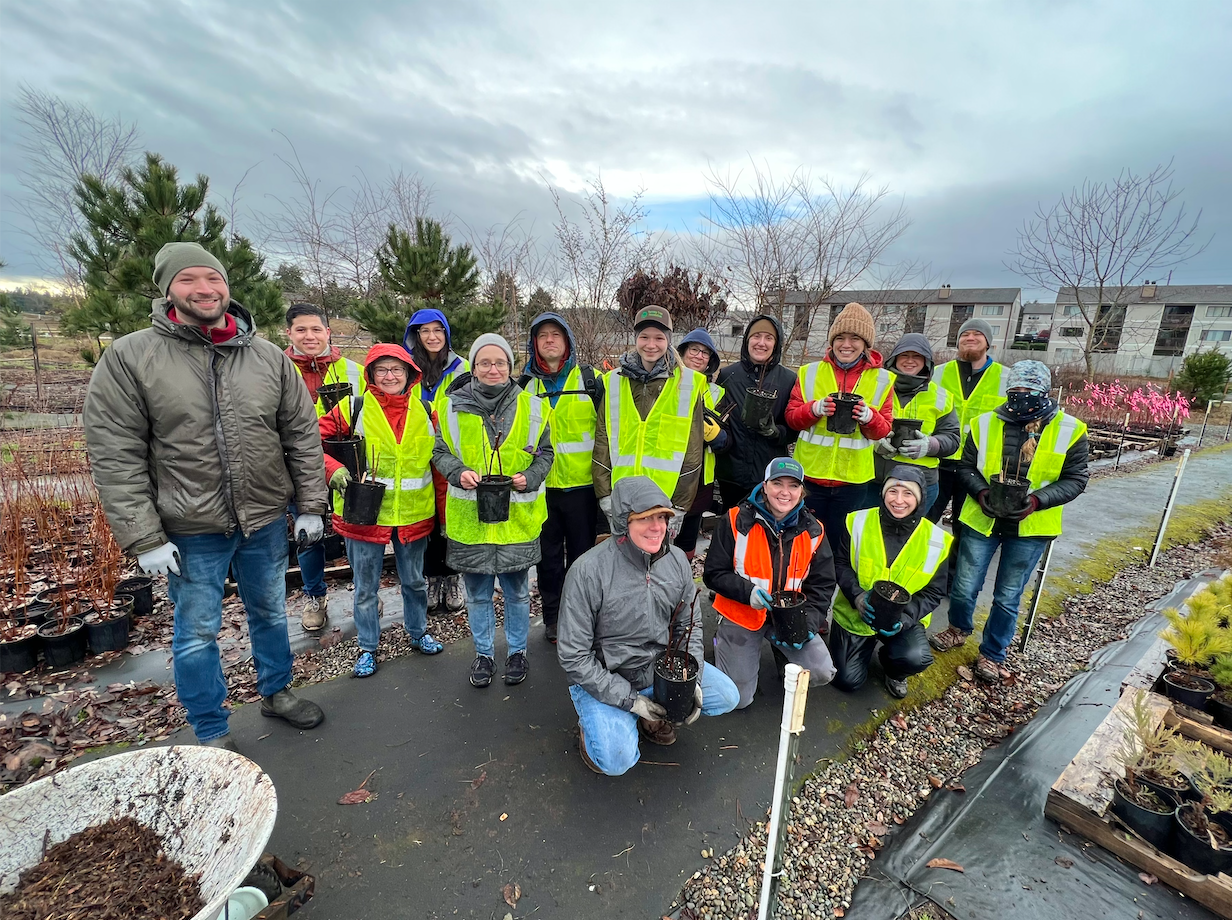
Tree Propagation Training Re-Cap
We had an awesome time and we are grateful for all of the trees volunteers helped propagate. We will be giving out the Red Flowering Currants, Thimbleberries, and Snowberries we potted at some of our tree shares next spring/fall!


How to propagate your plants!

1) Sanitize your tools
It is important to have clean tools to reduce the risk of transferring diseases among plants. Wipe down your pruners between different species with a rag and some alcohol.

2) Label your plants
Cuttings are hard to tell apart when they are new, so add a label to make sure you know which plant it which!

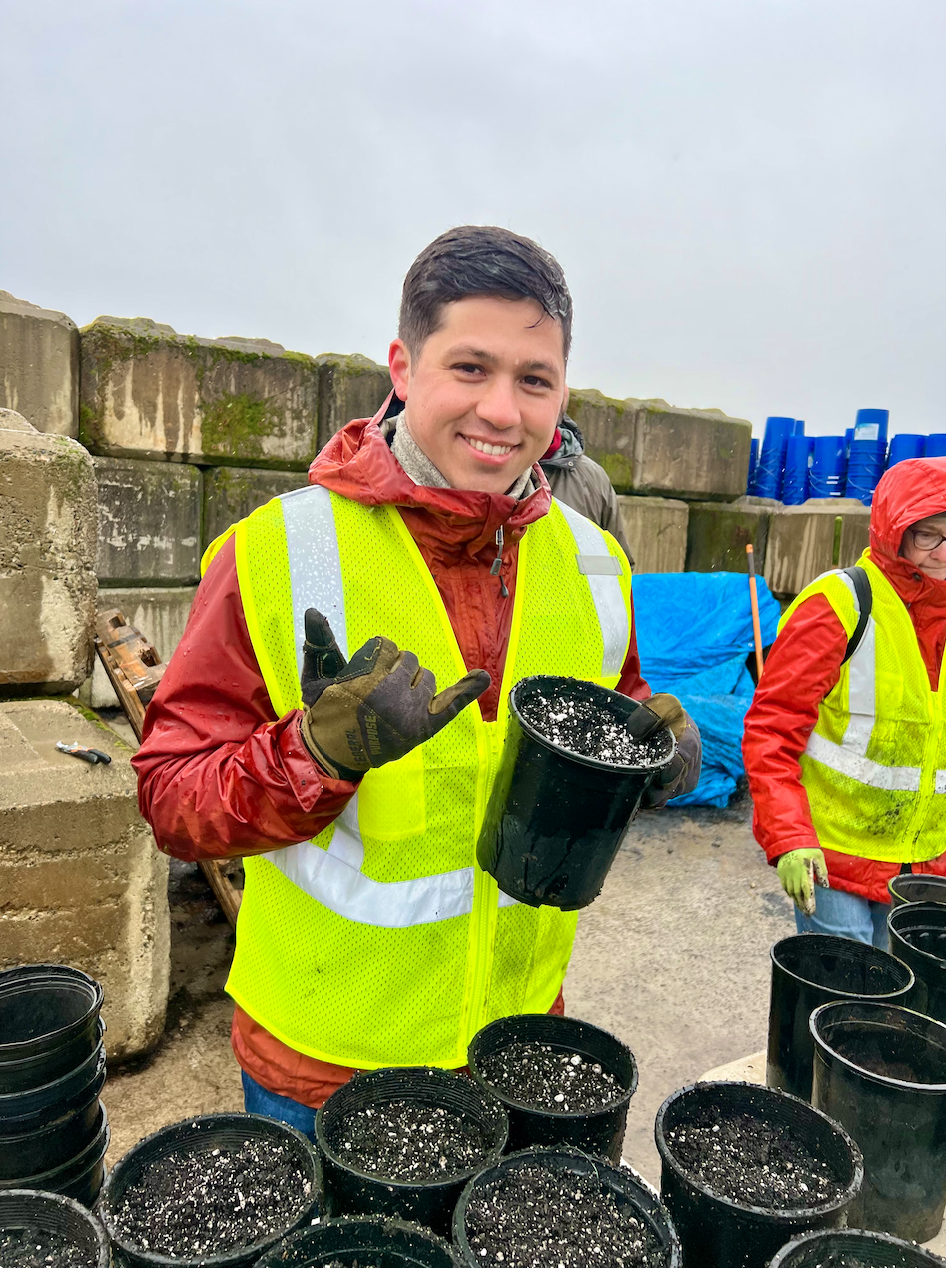
3) Mix soil with perlite
We used some Tagro for our soil, which is great for growing but since it holds a lot of water in we mixed it with some Perlite for better drainage.
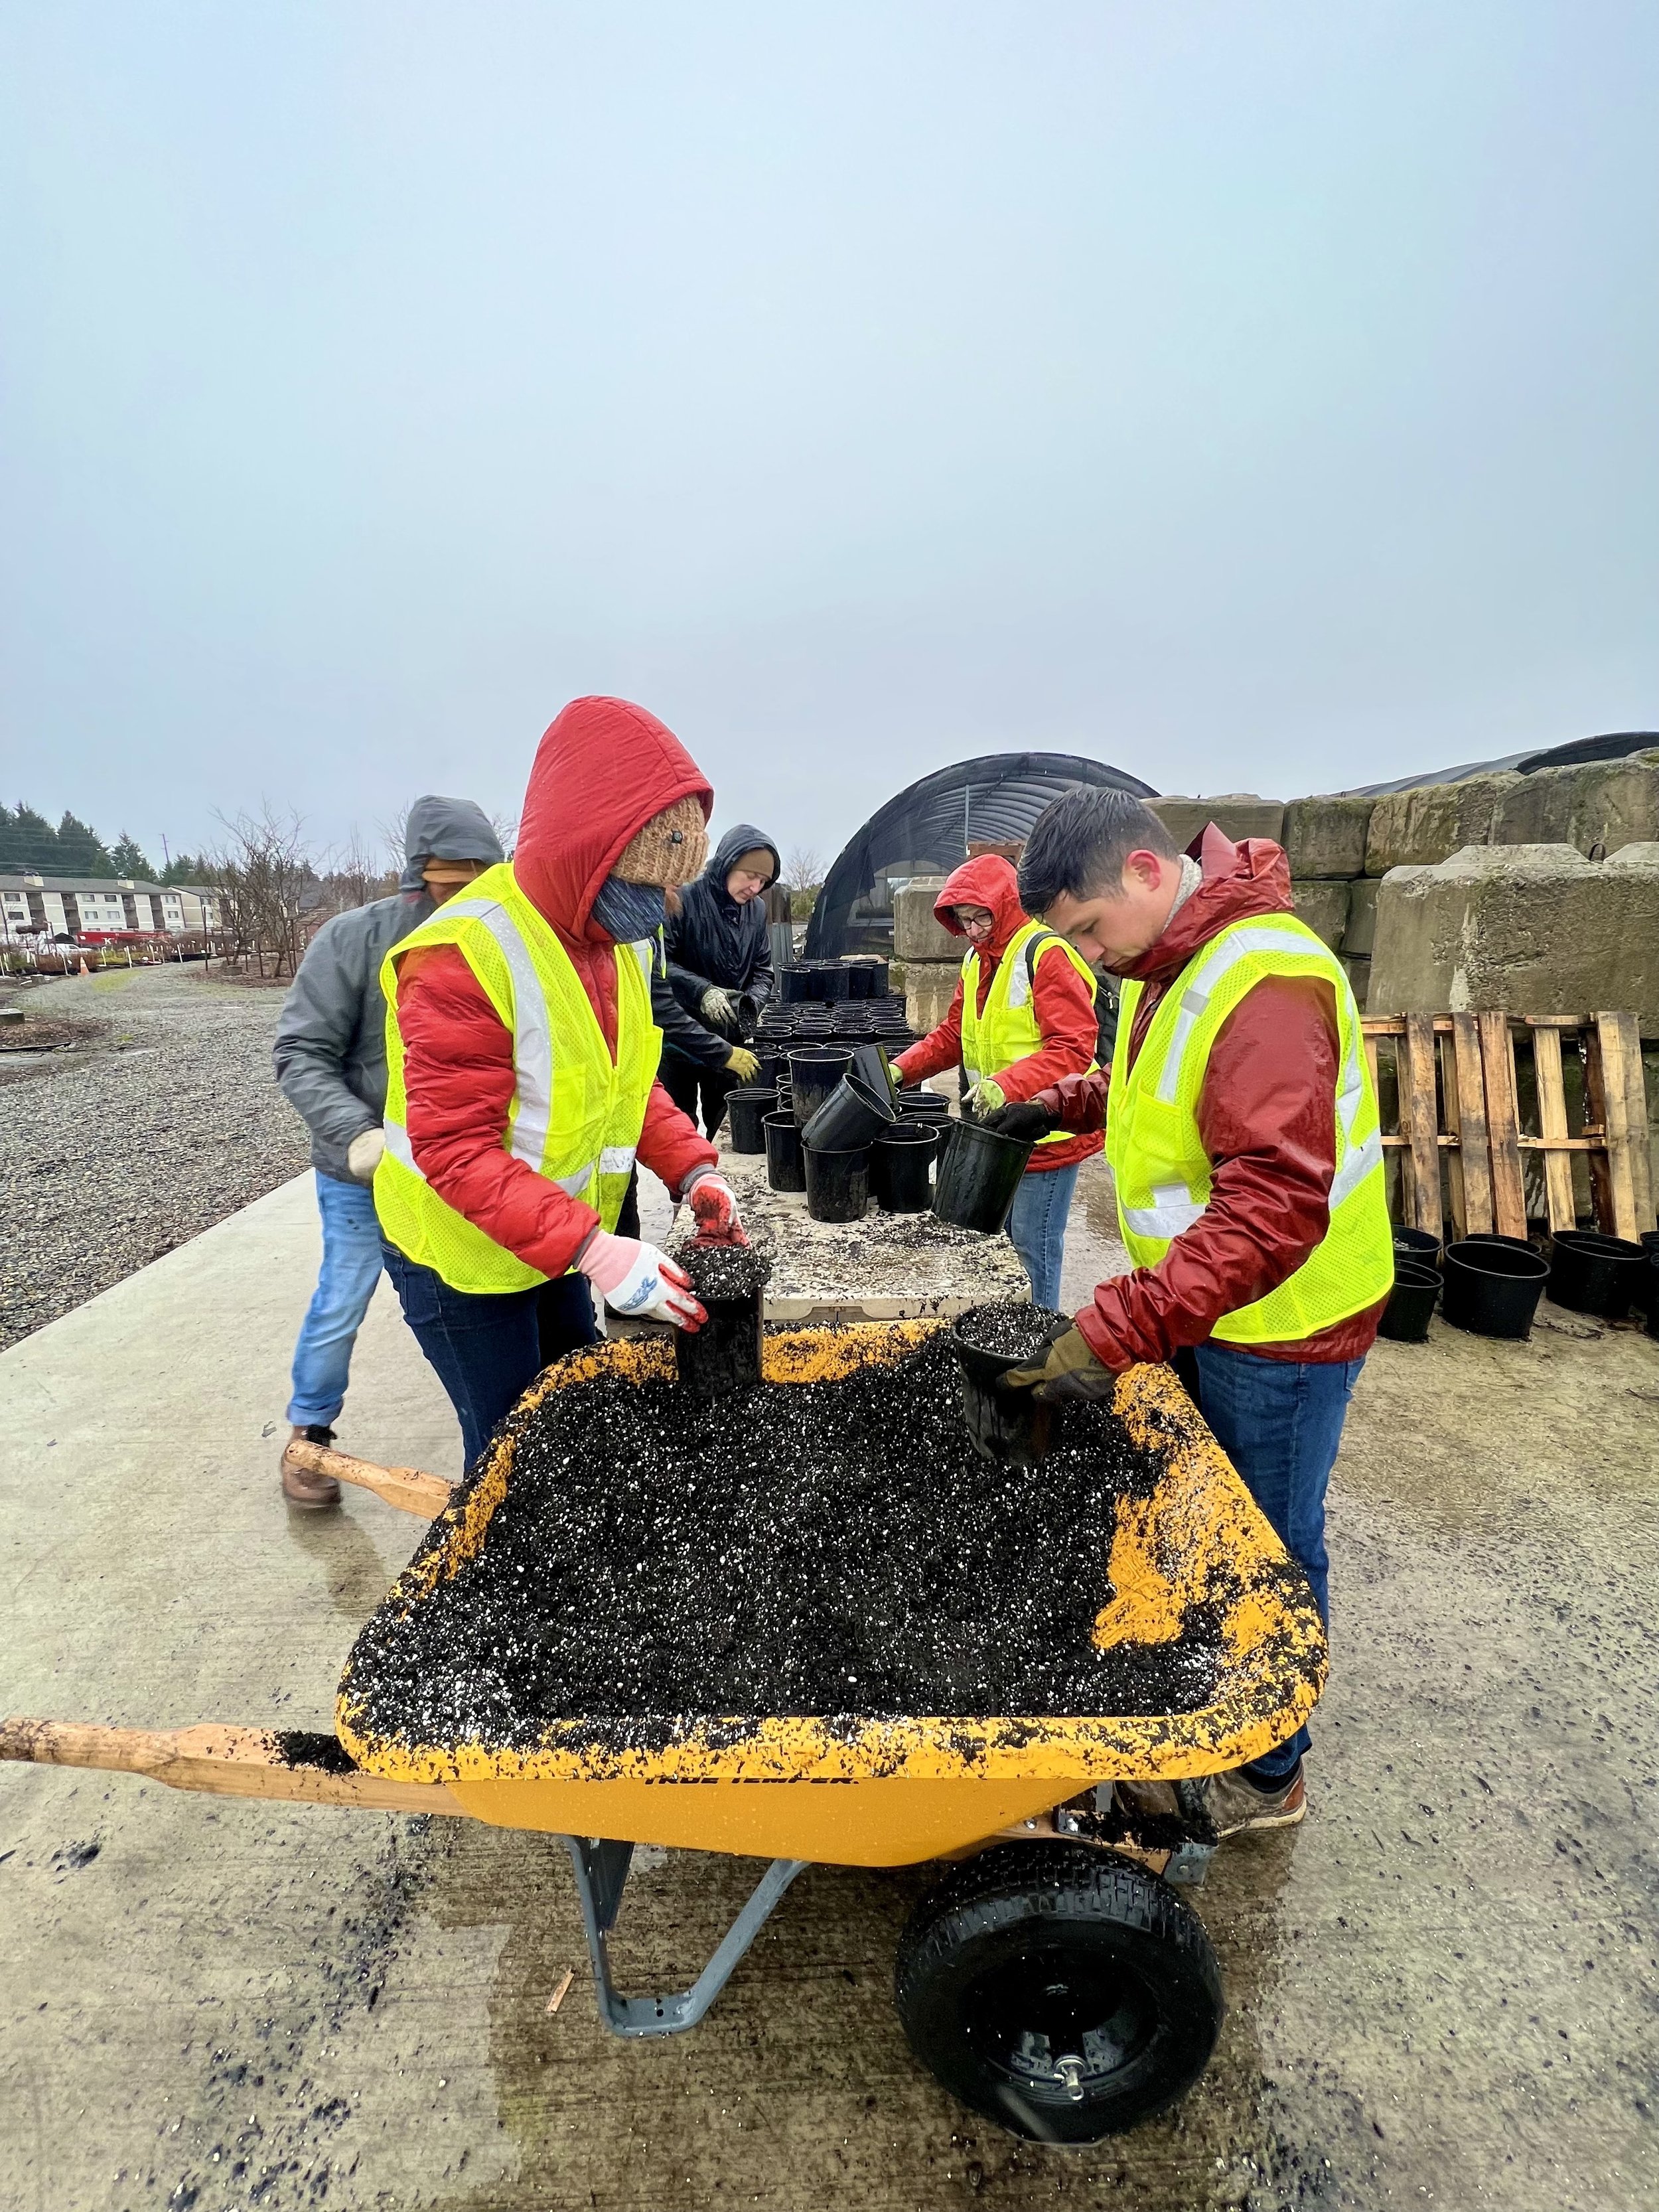
4) Fill your pots
Exactly what it sounds like, fill your pots up with soil!
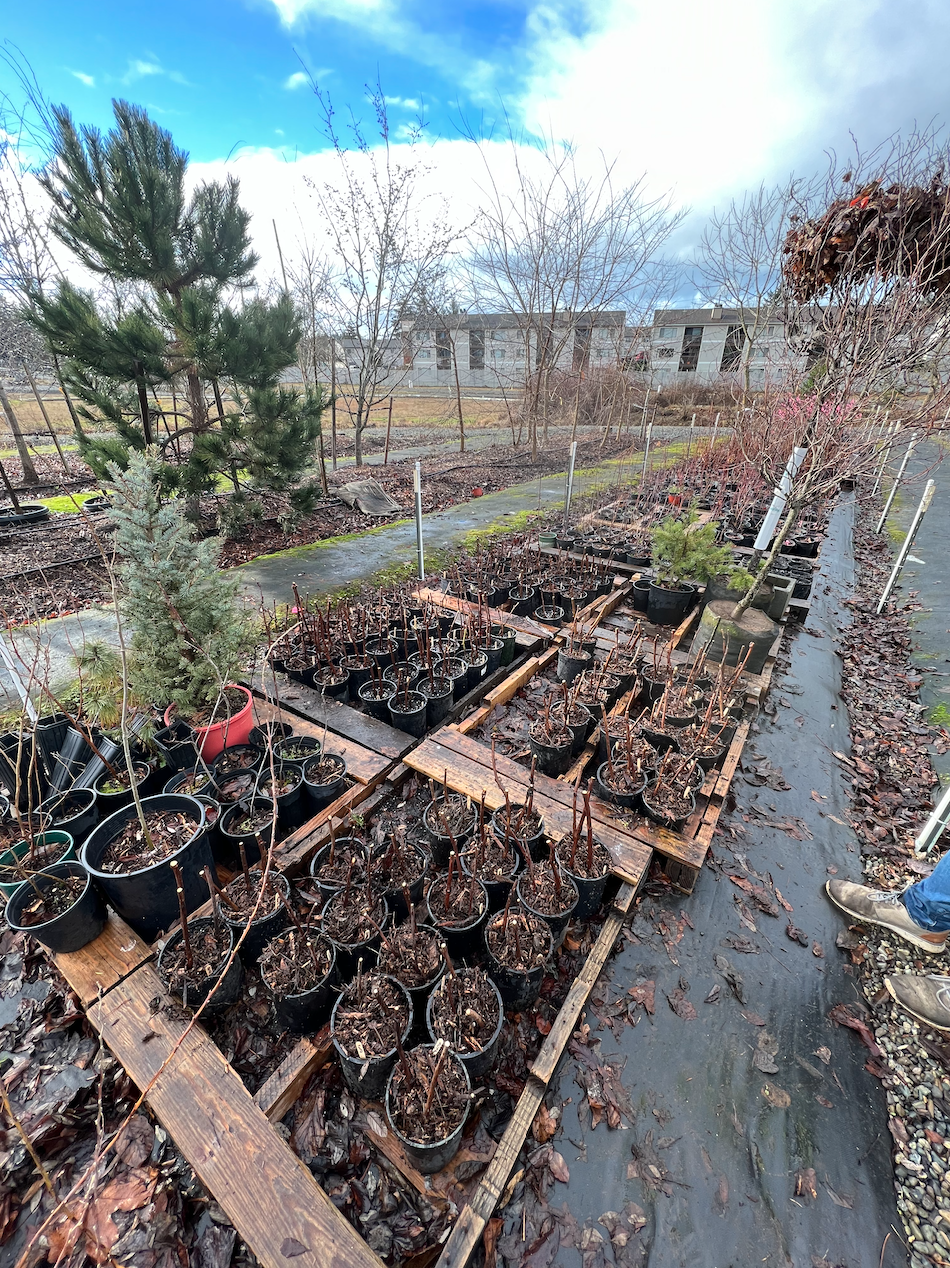
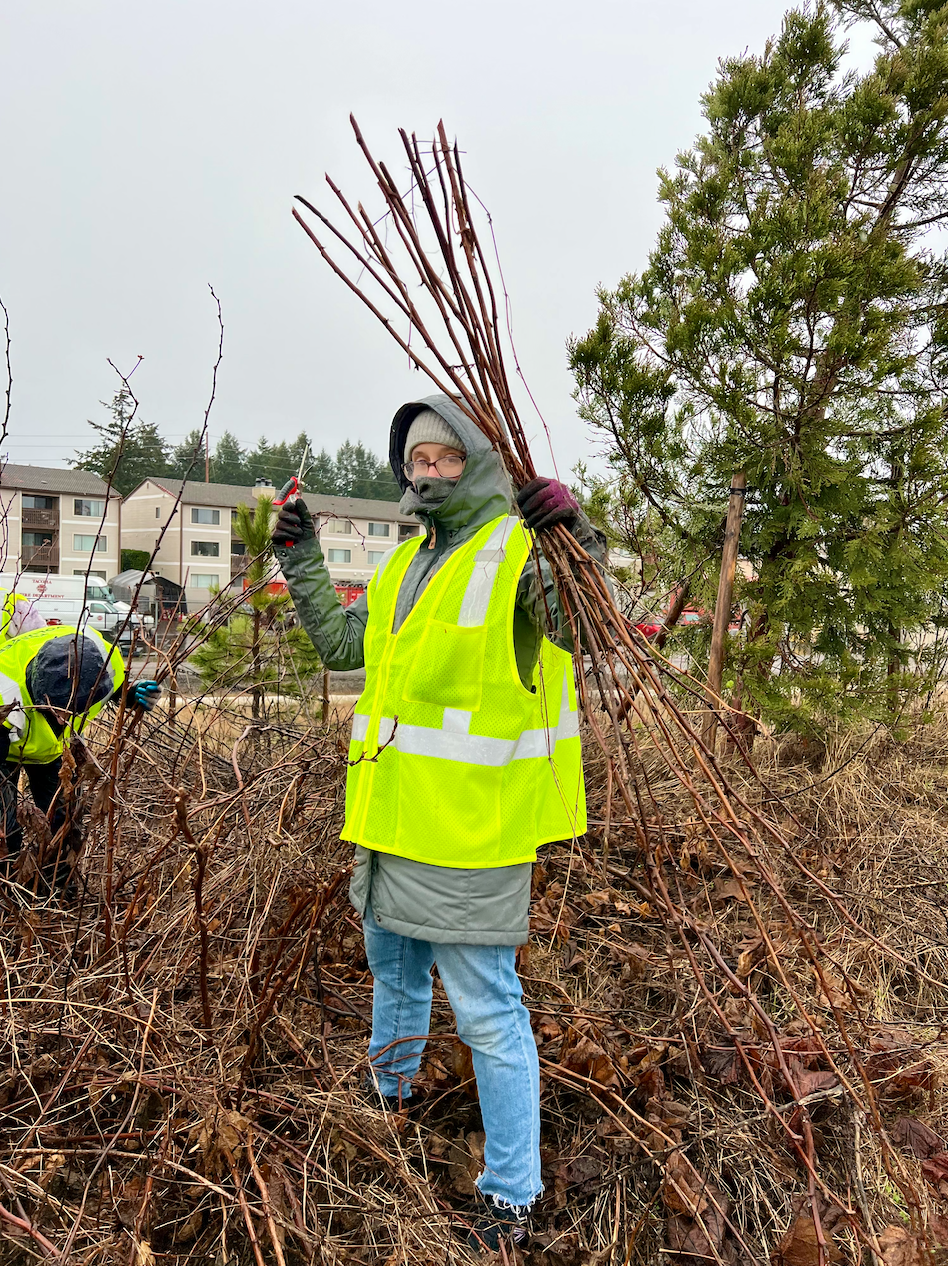
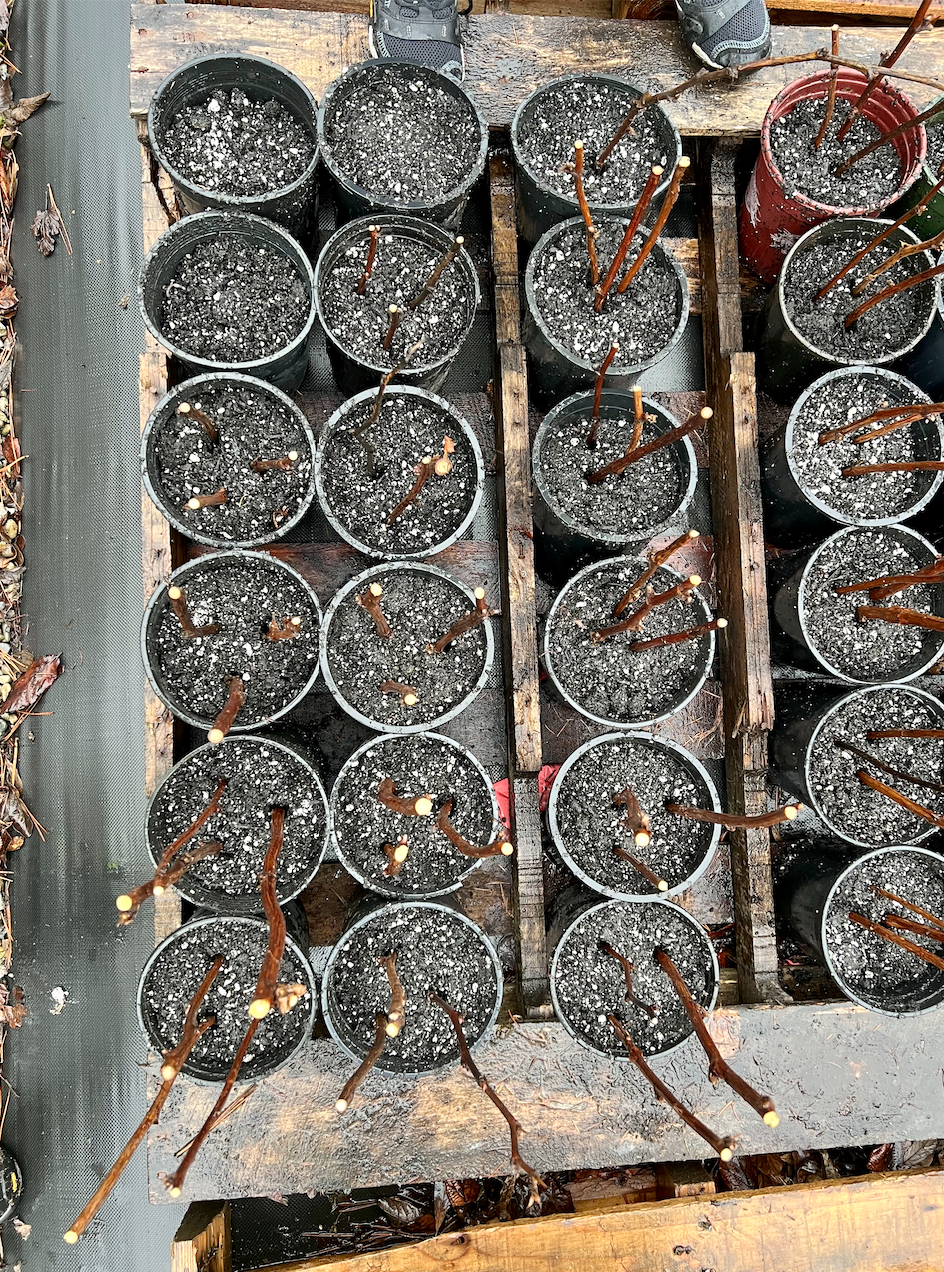
5) Take your cuttings
The step you have all been waiting for. Find a straightish branch and take a clipping from the bottom. Be sure that it is a medium thickness (not too thin that it will easily snap or thicker than your finger).

6) Processing cuttings
The most important part of this is to remember which side is up and which side is down (you don’t want to plant it upside down by accident).
We do this by making a diagonal cut for the bottom and a straight cut on the top. You can also tell because the little nodes on the branches point up.
Generally we take about a foot long cutting for each propagation.
Make sure that you cut the top off of your branch, if you don’t it will go to seed instead of regrowing.

7) Placing in pots
Stick your cutting with the pointed side down in your pot and add in your labels. Give them a watering and let them regrow!